Heated Countertops: How to Add Warmth During a New Countertop Installation
Granite continues to be the number one selection for countertops, with quartzite being a close second. What do both surfaces have in common? They feel cold to the touch, which can be unpleasant for those who sit at their island in the morning, enjoy working on a laptop in their kitchen or simply want the luxury of a cozy home.
Fortunately, it has become increasingly easier for people to make the upgrade to heated countertops. Fabricators and installers can simply follow the six steps below when including this elegant feature to the countertop project.
1.
Measure the area where warmth will be desired. Most homeowners choose to warm 10″-15” from the front edge (elbow to wrist length).
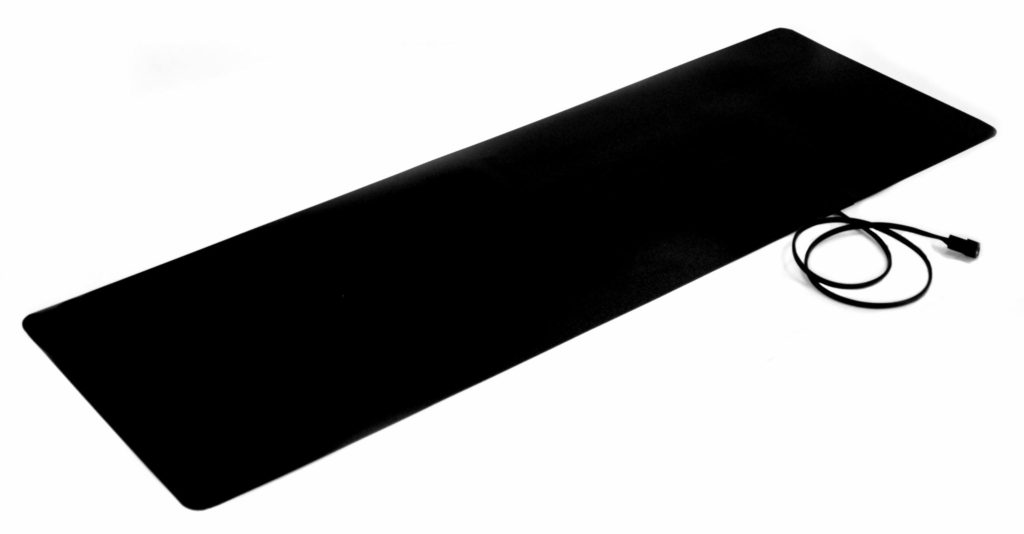
2.
Order a stick-on countertop heating mat that perfectly matches the size and shape of the area. You can even specify where the cord should come off the mat.
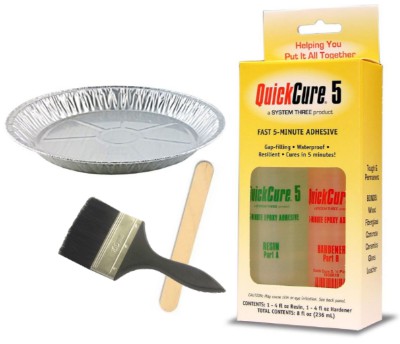
3.
Prior to installing the stone, apply a thin layer of epoxy (included with the mat) to the area where the mat will be adhered.
*This step can be skipped if the granite is smooth or has underwent a surface grind.
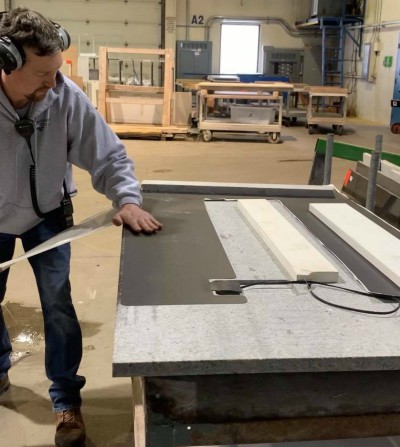
4.
Peel and stick the mat onto the stone before laying the stone down onto the cabinetry.
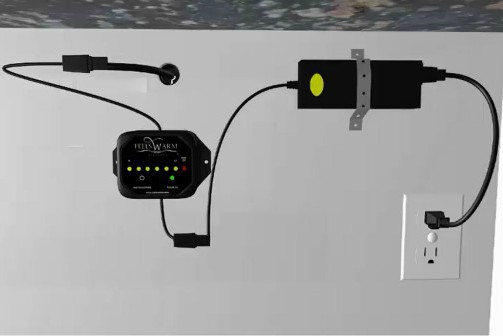
5.
Drill a small hole in the cabinetry and feed the cord through the hole.
6.
Plug the mat into a standard outlet located inside of the cabinetry.
For new countertops with a solid substrate and no overhang, there is a compressed heater option which can be quickly rolled out directly onto the substrate.
Countertop heating mats take a passive warming approach to guarantee the safety of the stone without introducing any risk of cracking. Homeowners can enjoy leaving the mat on at all times as it costs pennies per day to operate.
Want to add heat to a countertop that is already installed? Click here to learn how it’s done.